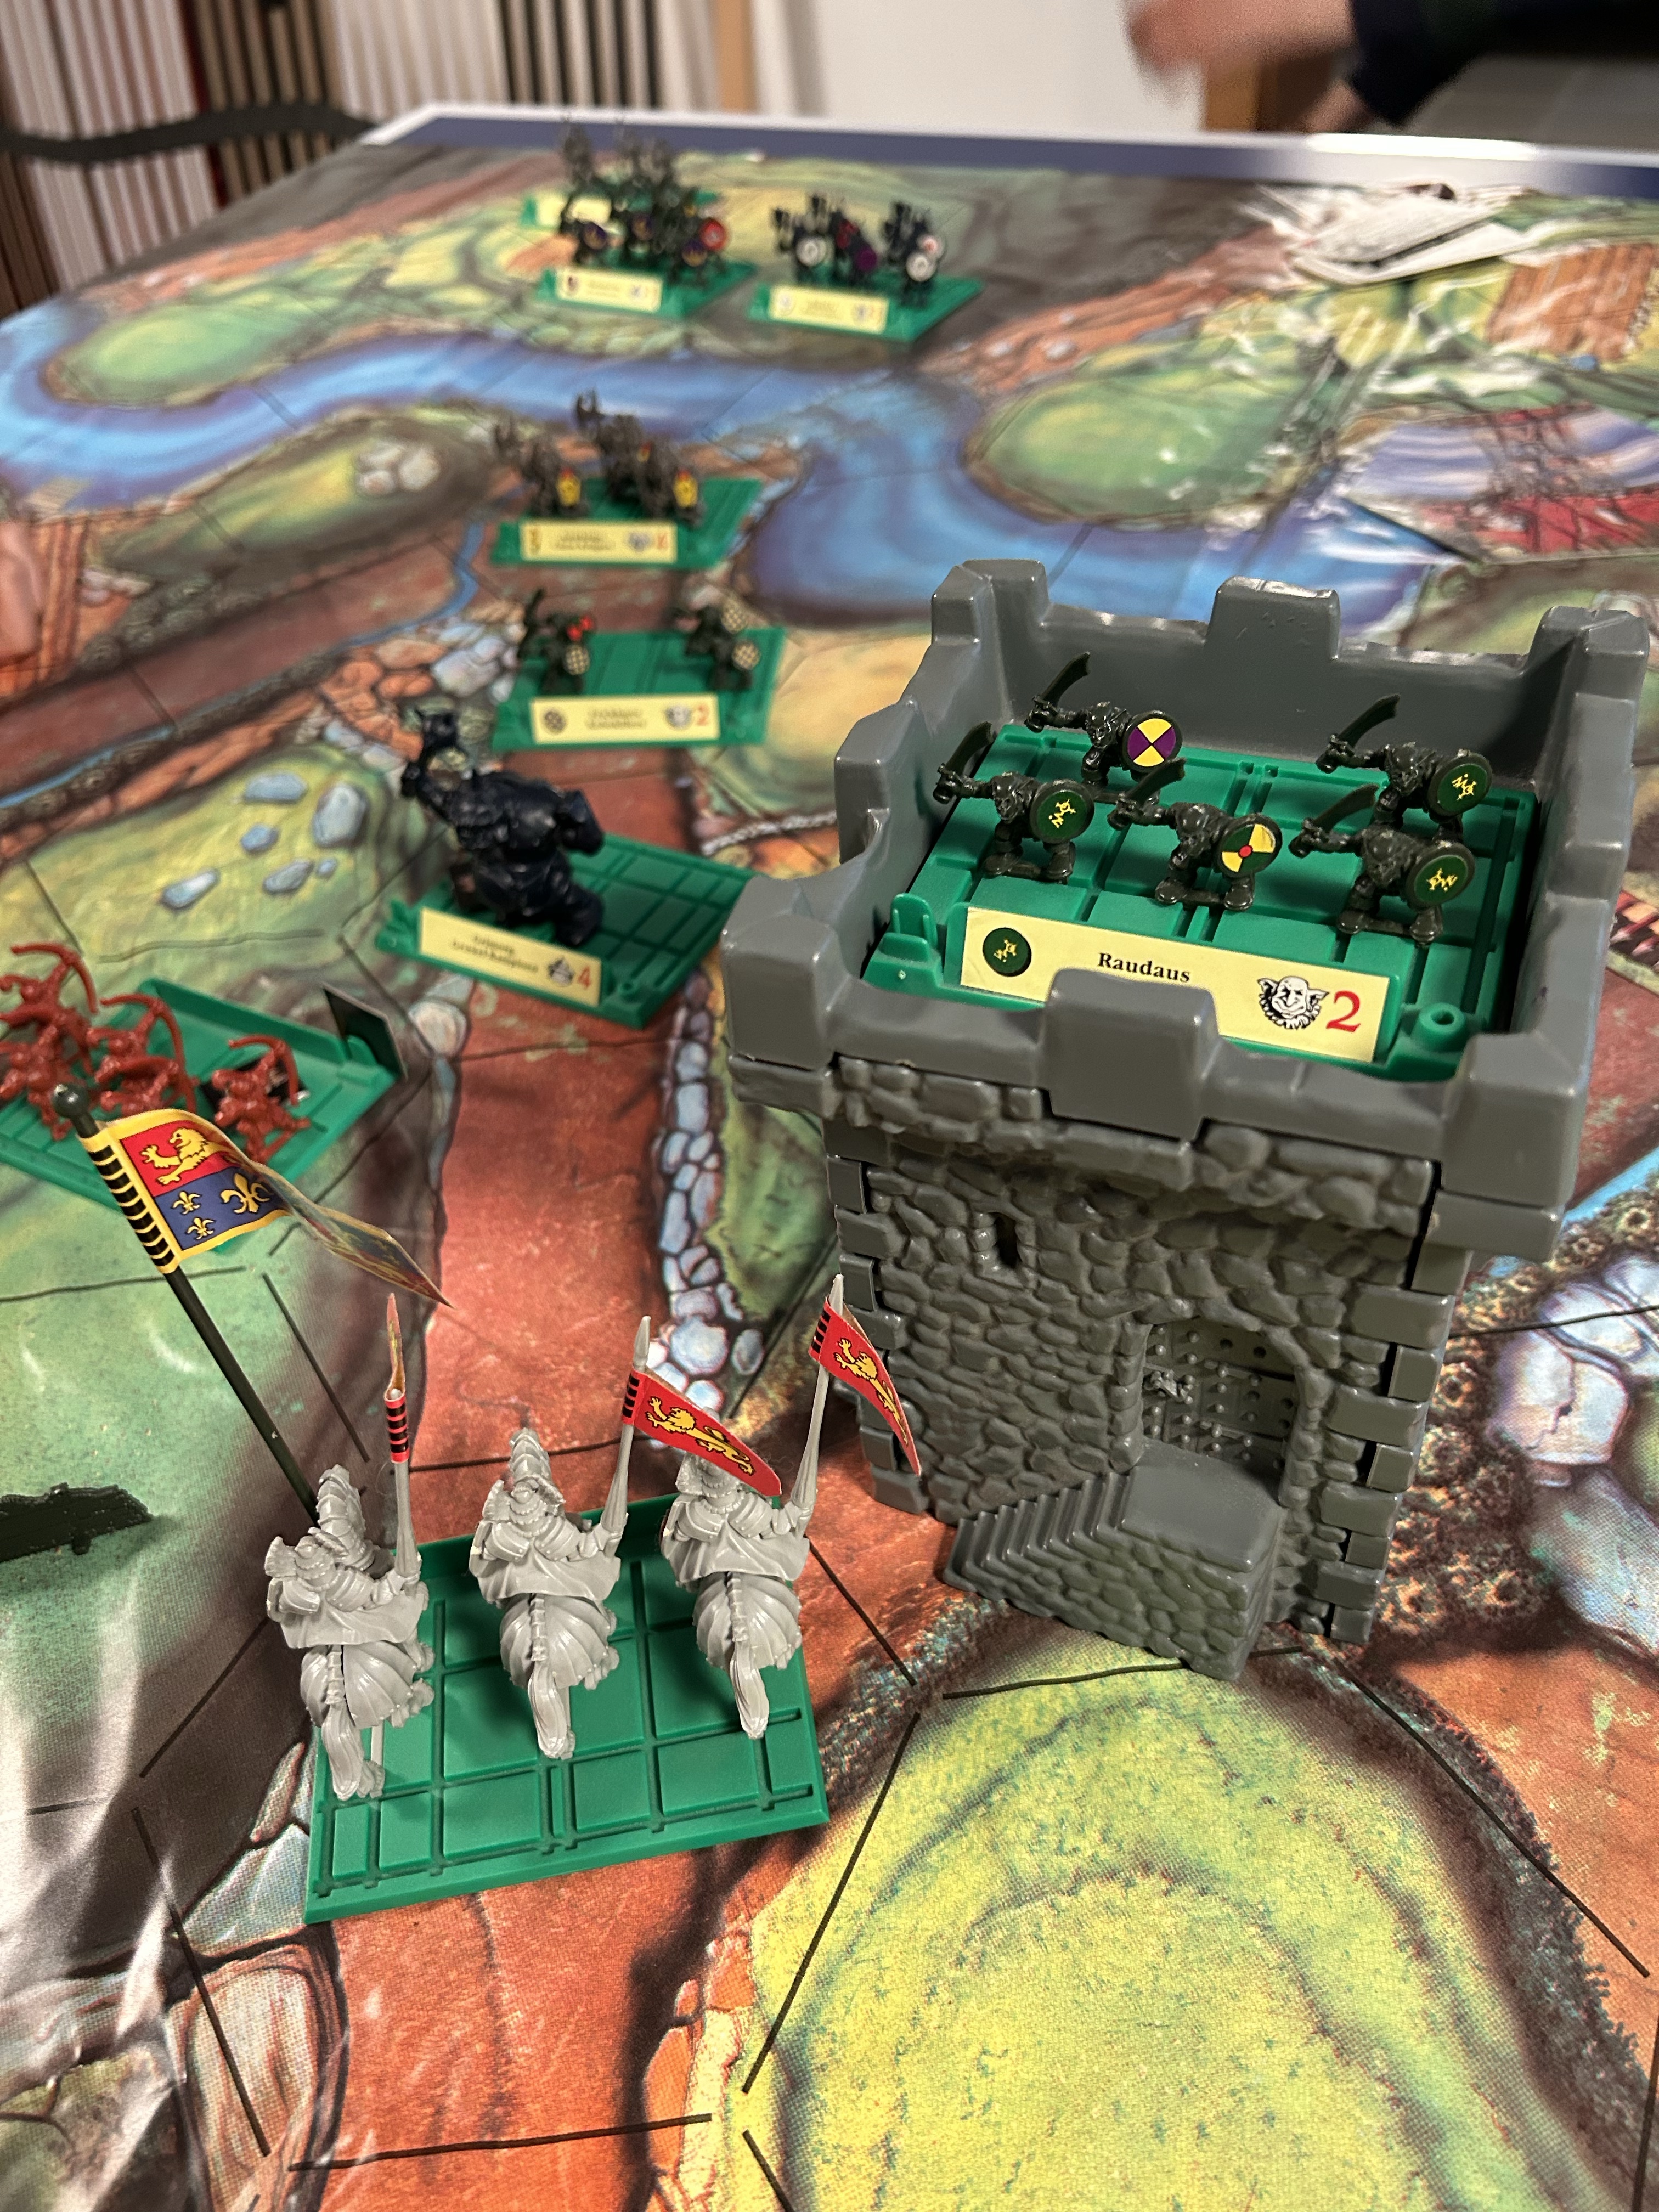
This exercise’s homework consisted in showing a menu when leveling up which would show the stats increase.
Battle masters
CS50 intro to game dev. Legend of zelda
Working on the zelda lesson homework. I am now able to get hearts from monsters, pick up pots and walk around with them. Next step launch pots and injure monsters with them.
Video game programming
I’ve always wanted to create my own videogame. For the last 5 years or so, I’ve been on and off trying to follow this harvard training on videogame programming. Here I go again.. 🙂
Videogame animation
I got a Huion tablet for Santa Claus. I’m having a lot of fun animating the characters of a comic I used to draw back at university: cat art>/dev/null
I feel this could be the piece I was missing to keep crawling forward on my years-long intention of creating my own videogame. A graphic adventure based on the games I loved when I was a kid: Monkey Island, Indiana Jones, Kings Quest.. 😀

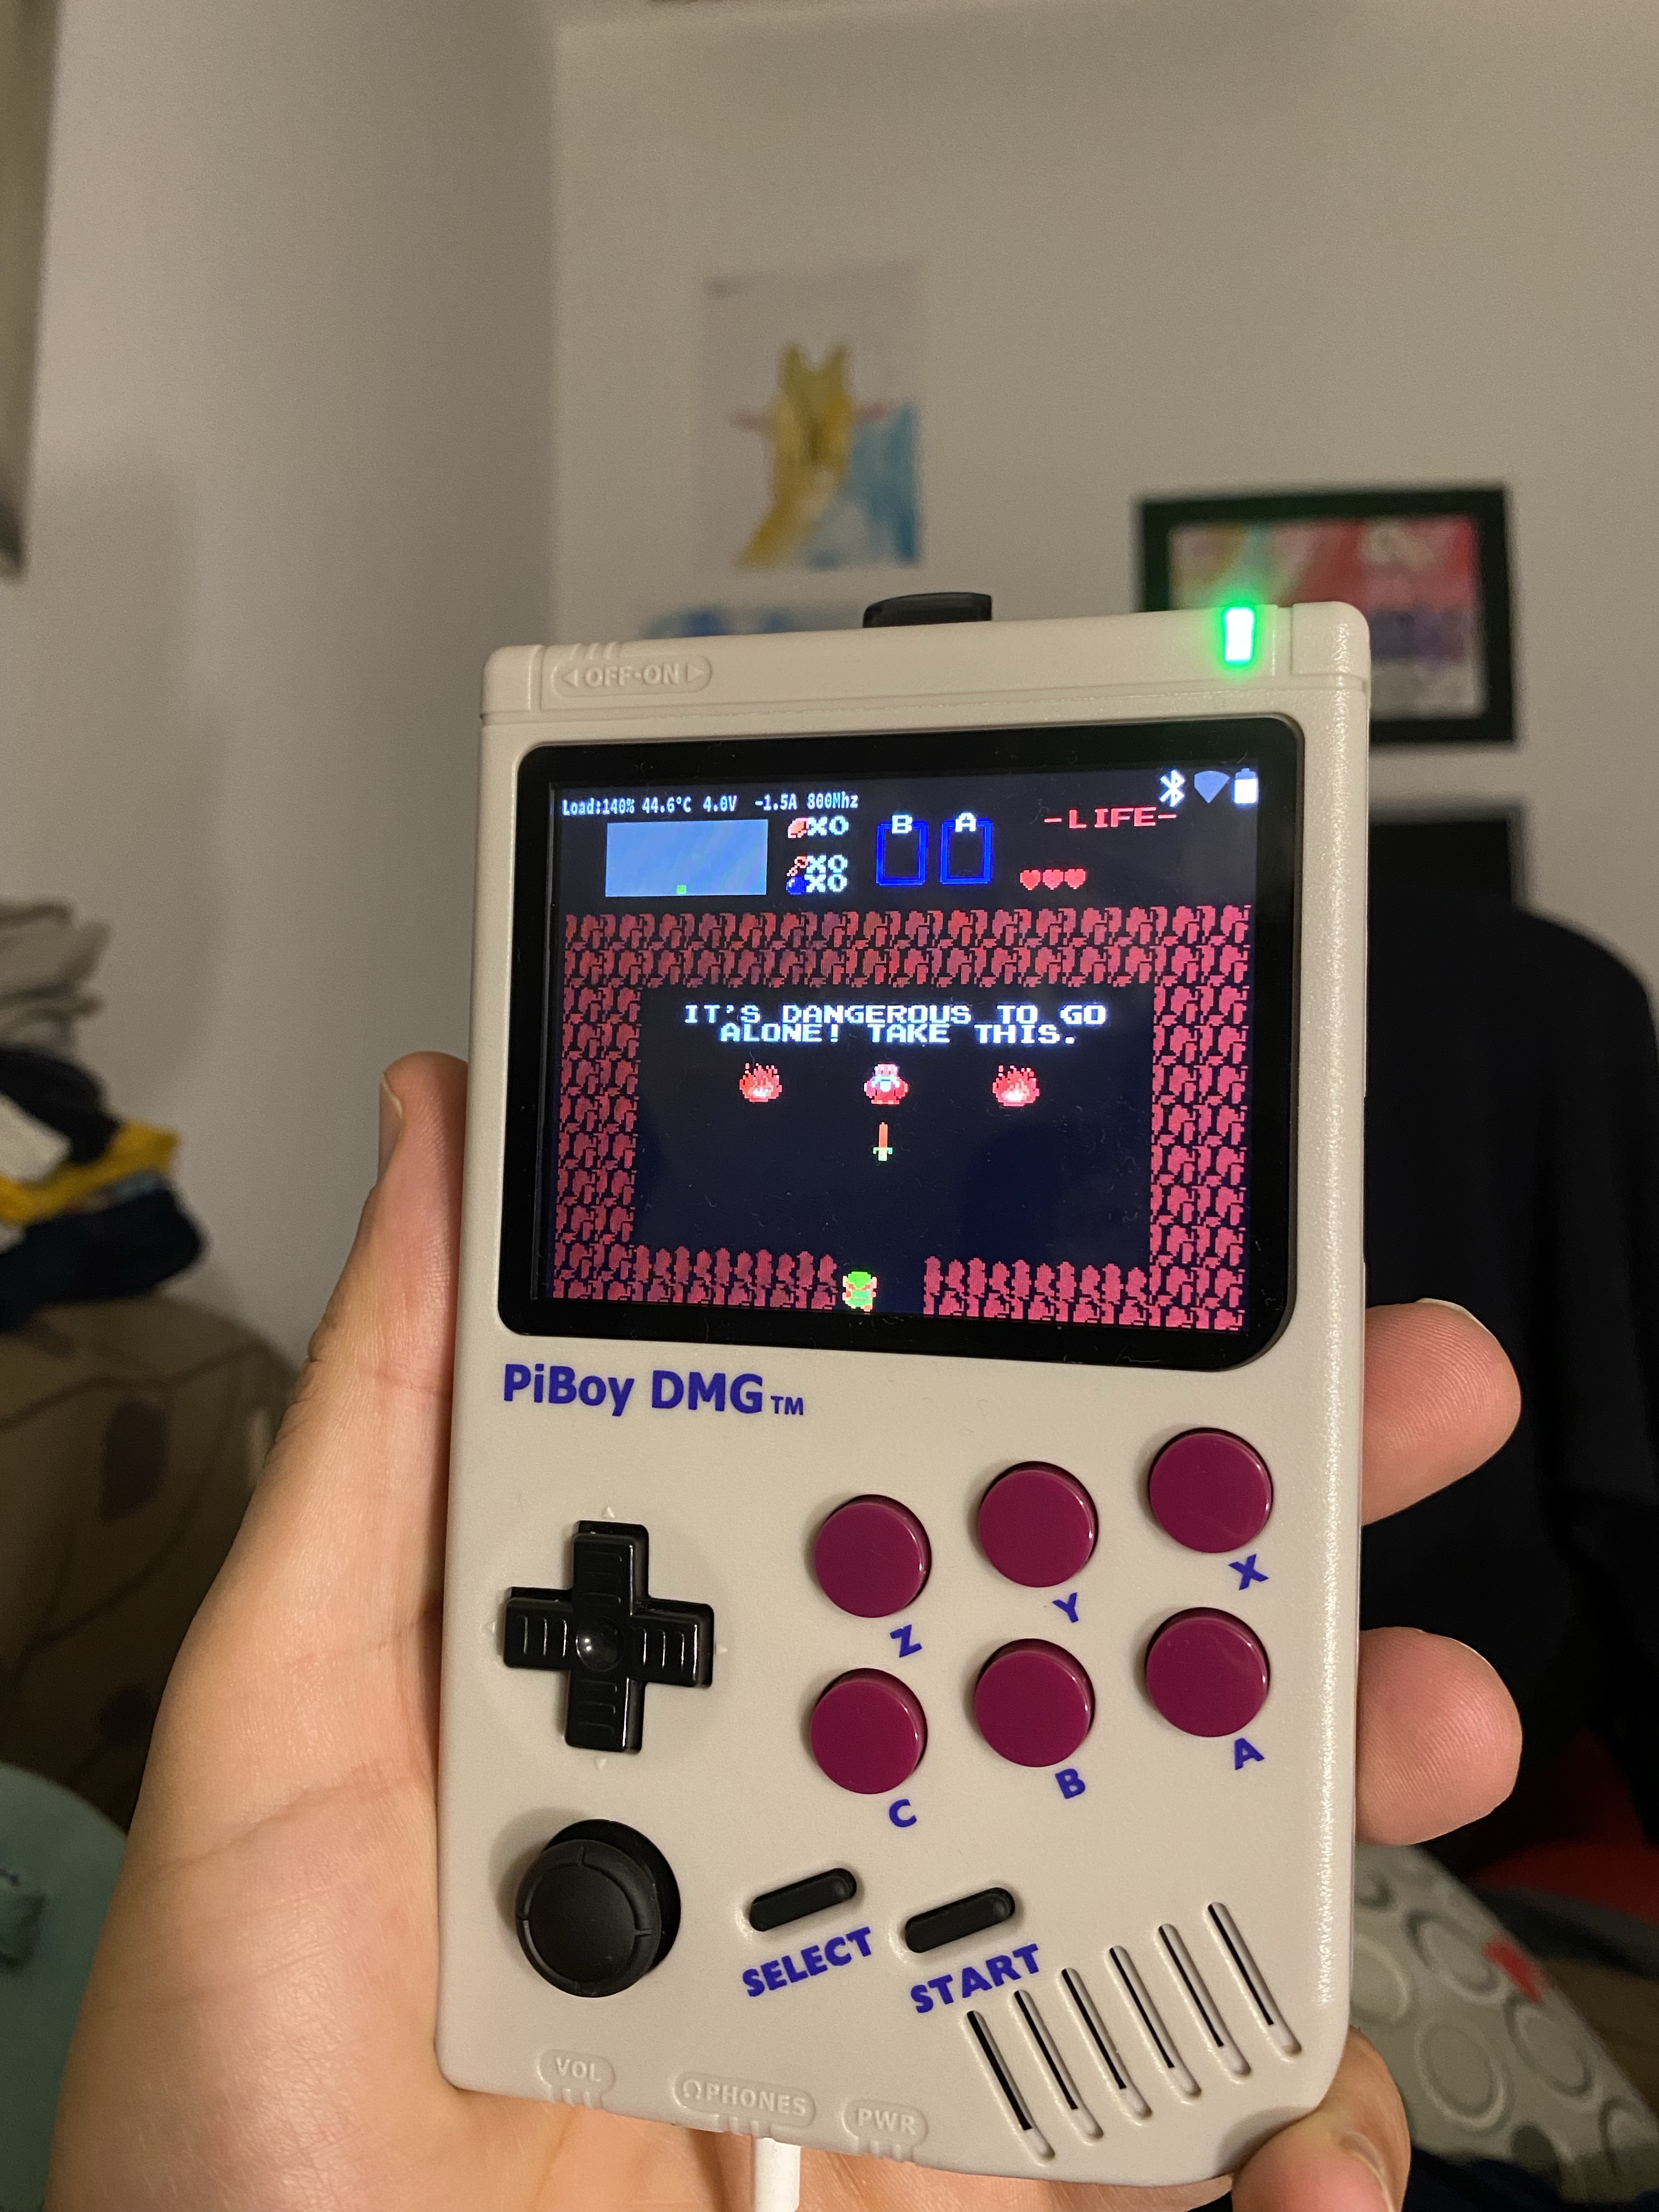
You are the hero of hyrule

It’s dangerous to go alone..
Take this
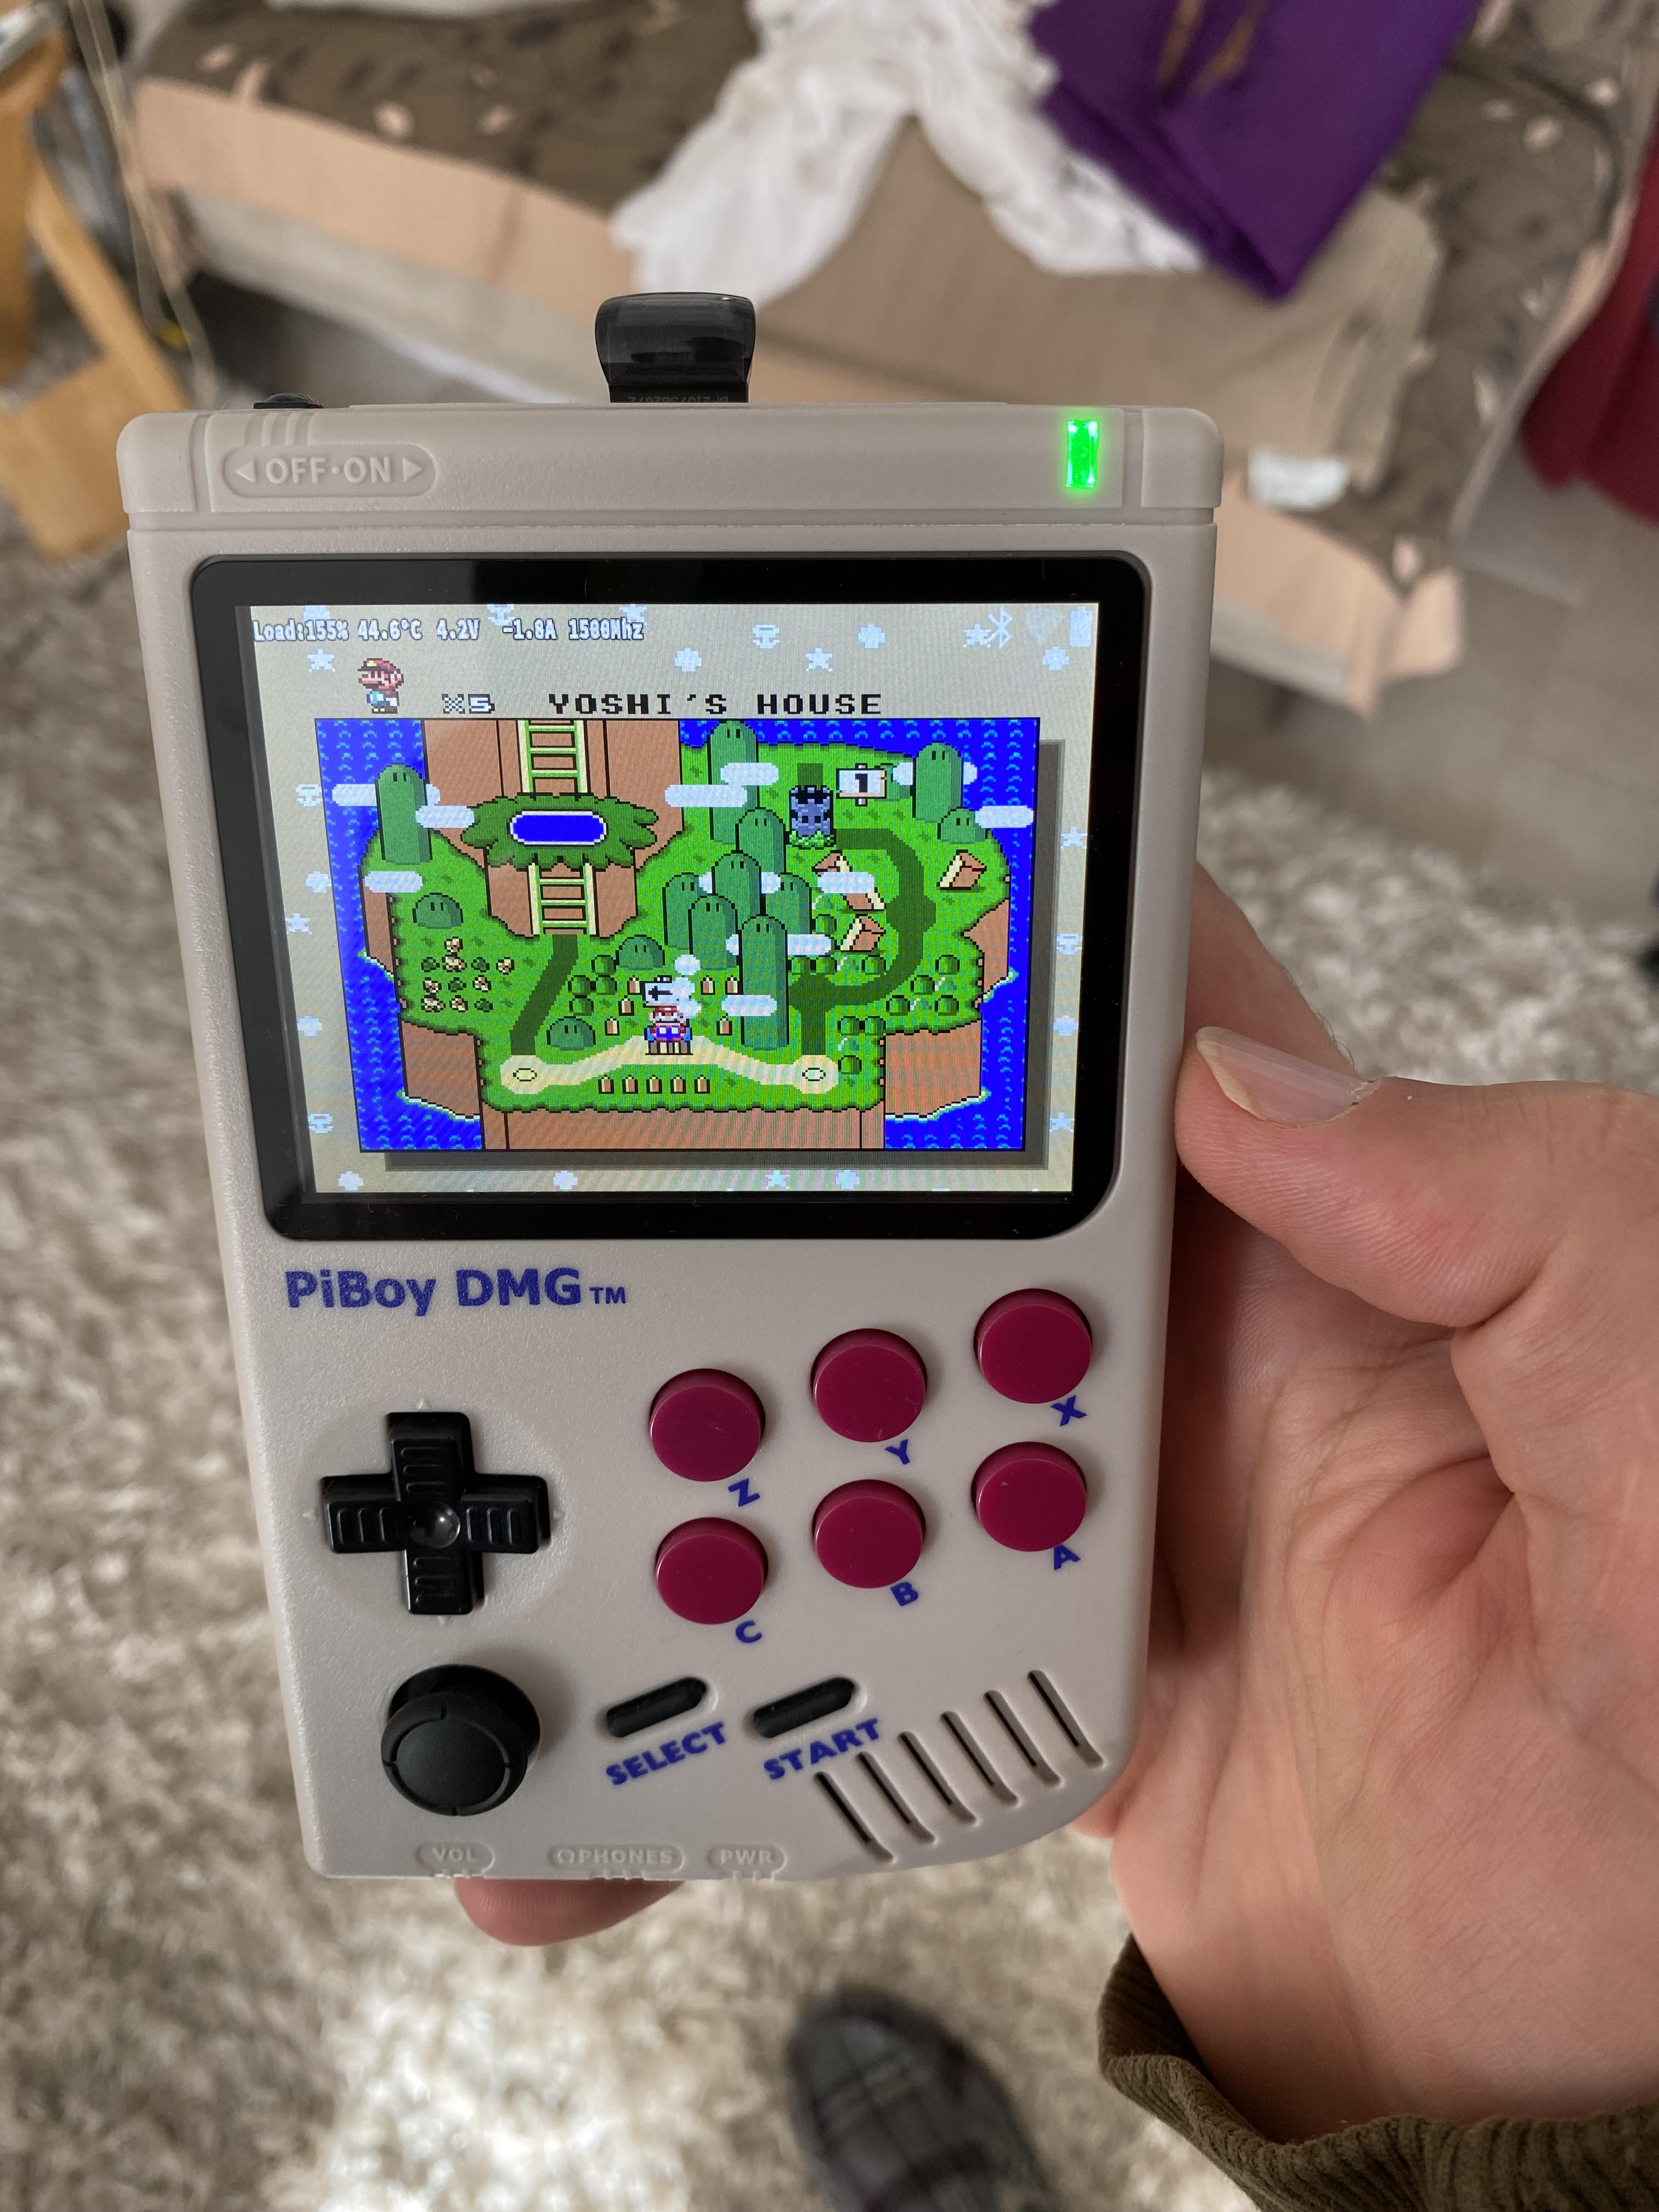
PiboyDMG running from USB drive
My wife’s PiboyDMG stopped working and wouldn’t boot. After some investigation it was due to the SD card being fried (no surprise there, SD cards are horribly unreliable) so I tried setting it up to boot from a 128GB mini usb drive. I followed the same steps I would have with an sd drive:
- Dowload retropie
- Install retropie on the usb drive using balena etcher
- Download the Piboy DMG firmware updates ,copy the Piboy DMG files to the usb drive and update the config file
- Boot up 🙂
I just wrote strcat( char*, char*) :)
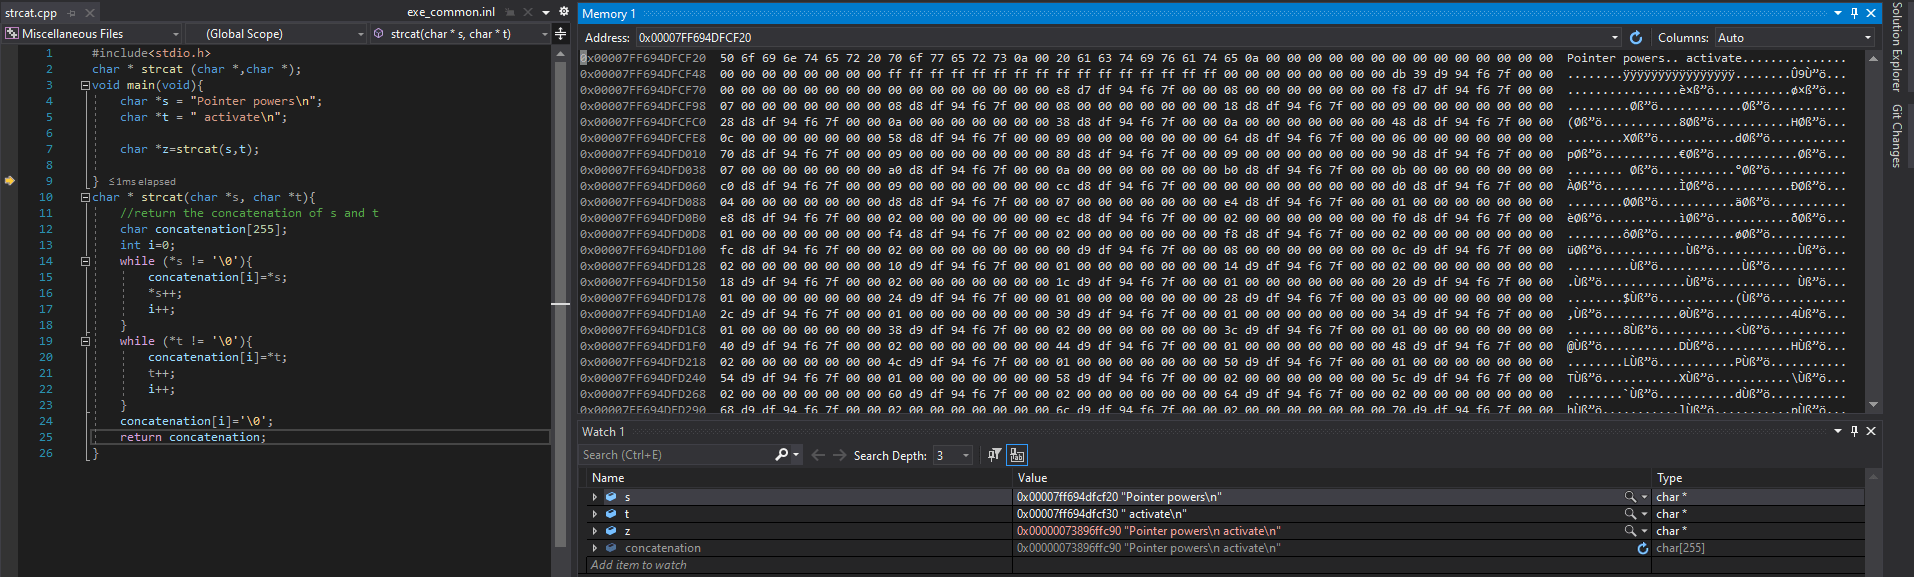
#include<stdio.h>
char * strcat (char *,char *);
void main(void){
	char *s = "Pointer powers\n";
	char *t = " activate\n";

	char *z=strcat(s,t);

}
char * strcat(char *s, char *t){
	//return the concatenation of s and t
	char concatenation[255];
	int i=0;
	while (*s != '\0'){
		concatenation[i]=*s;
		*s++;
		i++;
	}
	while (*t != '\0'){
		concatenation[i]=*t;
		t++;
		i++;
	}
	concatenation[i]='\0';
	return concatenation;
}Build a raspberry pi kubernetes cluster
1. Get the hardware
To build this cluster you will need the following hardware parts:
- 1xPoE switch (link) cost EUR 118
- 5x 15cm ethernet cables (link) cost EUR 2.4×5 = EUR 12
- 4xPoE hat for Raspberry Pi (link) cost EUR 28.99×4 = EUR 115.95
- 4xRaspberry pi 4 8 GB (link) cost EUR 81.66×4 = EUR 326.64
- 4x64GB usb 3.1 pendrives (link) cost EUR 11.63×4 = EUR 46.52
- spacers to stack the raspberry pis (link) cost EUR 9.99
- Total cost EUR 630
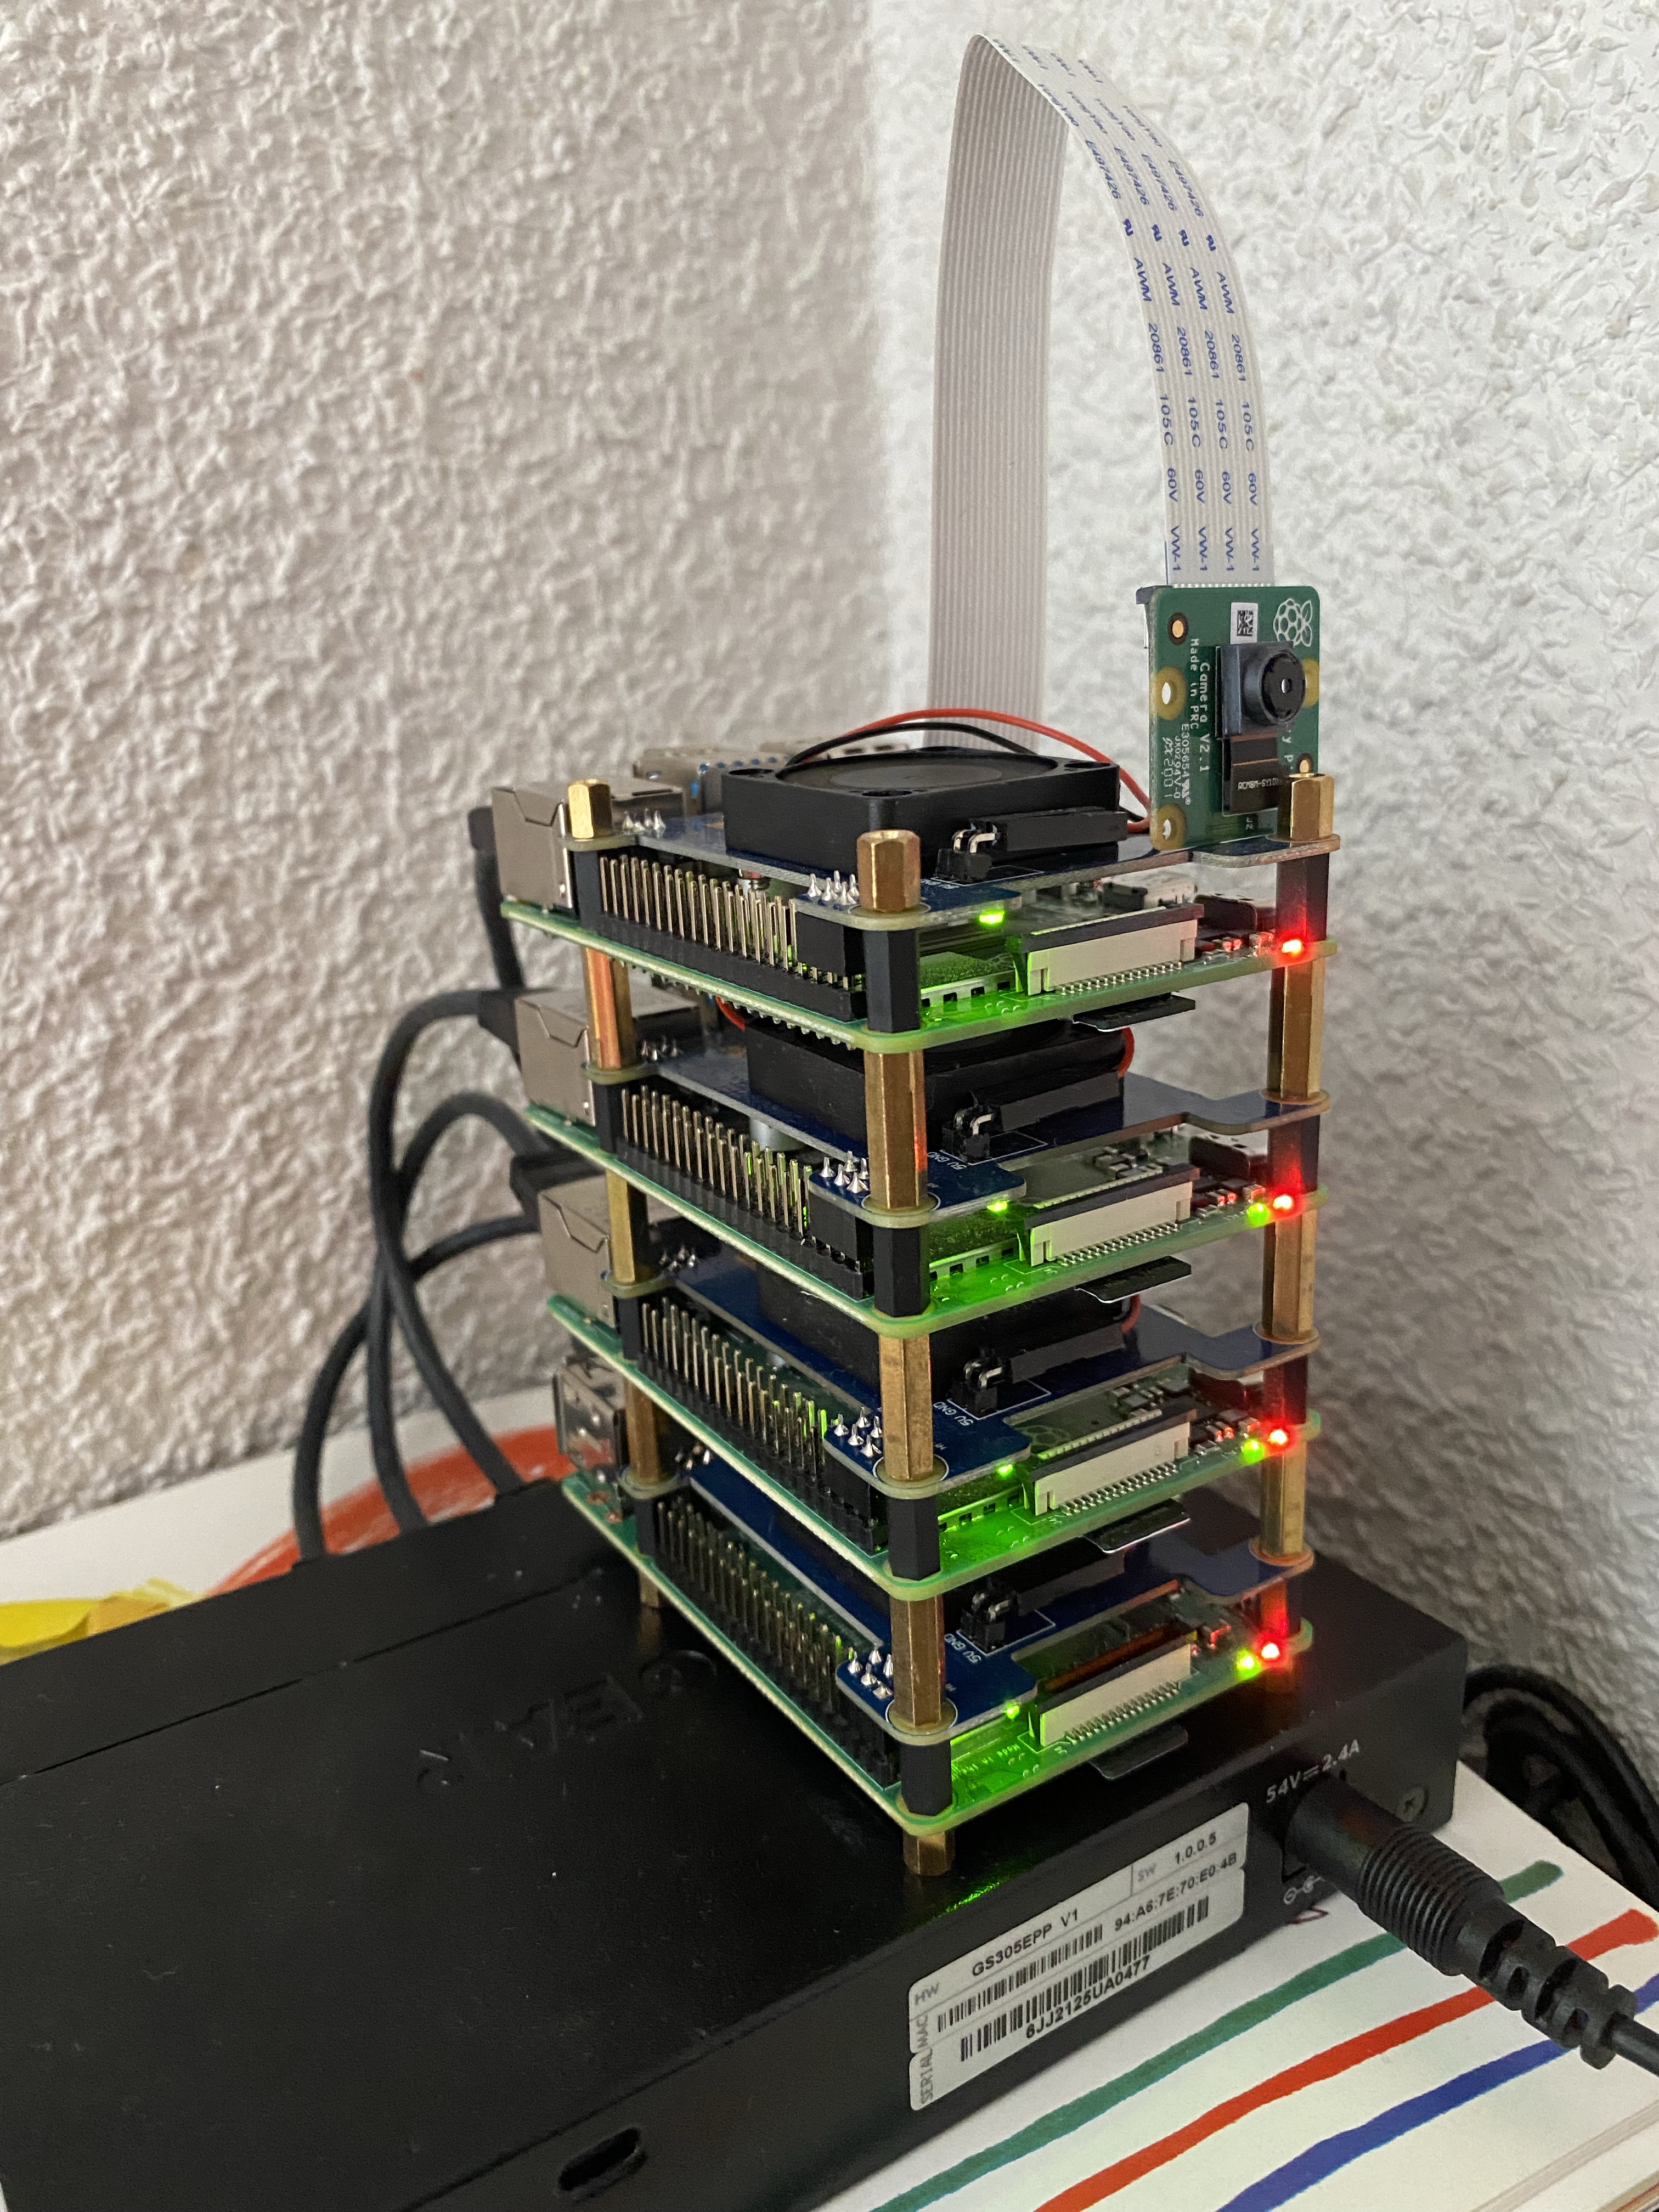
2. Install base infrastructure
- Set up the PoE Hats and stack the raspberry pis using the spacers.
- Install raspberry pi OS and base configuration (link)
- Since Raspberry pi 3B you can boot directly from USB. No more io errors from unreliable SD cards 🙂
- To perform a headless install create a file called ssh in /boot/ folder, this will enable ssh so you can access your pis remotely without need for a monitor (link)
- Install tmux and get this script (link) to simultaneously modify all 4 raspis
sudo apt install tmuxvi multi-ssh.sh
#!/bin/bash
ssh_list=( user1@server1 user2@server2 ... )
split_list=()
for ssh_entry in "${ssh_list[@]:1}"; do
    split_list+=( split-pane ssh "$ssh_entry" ';' )
done
tmux new-session ssh "${ssh_list[0]}" ';' \
    "${split_list[@]}" \
    select-layout tiled ';' \
set-option -w synchronize-panes- Install Docker on each raspberry pi (link)
sudo apt-get update && sudo apt-get upgrade
curl -fsSL https://get.docker.com -o get-docker.sh
sudo sh get-docker.sh
sudo usermod -aG docker pi
sudo reboot
2. Install kubeadm, kubelet and kubectl on each raspberry pi (link)
sudo apt-get update
sudo apt-get install -y apt-transport-https ca-certificates curl
sudo curl -fsSLo /usr/share/keyrings/kubernetes-archive-keyring.gpg https://packages.cloud.google.com/apt/doc/apt-key.gpg
echo "deb [signed-by=/usr/share/keyrings/kubernetes-archive-keyring.gpg] https://apt.kubernetes.io/ kubernetes-xenial main" | sudo tee /etc/apt/sources.list.d/kubernetes.list
sudo apt-get update
sudo apt-get install -y kubelet kubeadm kubectl
sudo apt-mark hold kubelet kubeadm kubectl
3. disable swap on each raspberry pi (link)
sudo dphys-swapfile swapoff && \
sudo dphys-swapfile uninstall && \
sudo systemctl disable dphys-swapfile
4. Add cgroup parameters to /boot/cmdline.txt on each raspberry pi (link)
sudo vi /boot/cmdline.txt
cgroup_enable=cpuset cgroup_enable=memory cgroup_memory=1
5. Configure docker to use systemd on each raspberry pi
sudo mkdir /etc/docker
cat <<EOF | sudo tee /etc/docker/daemon.json
{
  "exec-opts": ["native.cgroupdriver=systemd"],
  "log-driver": "json-file",
  "log-opts": {
    "max-size": "100m"
  },
  "storage-driver": "overlay2"
}
EOF
sudo systemctl enable docker
sudo systemctl daemon-reload
sudo systemctl restart docker
3. Initialize Kubernetes Control Plane on the master node
- Choose one raspberry pi to be your master node from which you will control the cluster. This is called the Kubernetes Control Plane. Run the below commands on the master node.
sudo kubeadm init --pod-network-cidr=10.244.0.0/16
rm -rf .kube/
mkdir -p $HOME/.kube
sudo cp -i /etc/kubernetes/admin.conf $HOME/.kube/config
sudo chown $(id -u):$(id -g) $HOME/.kube/config
vi $HOME/.bashrc
# Add the below line to the end of .bashrc
export KUBECONFIG=$HOME/.kube/config
2. Set up the kubernetes network (I am using flannel) on the master node.
kubectl apply -f https://raw.githubusercontent.com/coreos/flannel/master/Documentation/kube-flannel.yml
cat > /run/flannel/subnet.env
FLANNEL_NETWORK=100.96.0.0/16
FLANNEL_SUBNET=100.96.1.1/24
FLANNEL_MTU=8973
FLANNEL_IPMASQ=true
3. Get the tokens to connect the different nodes. Run this command on the master node and take note of the output.
kubeadm token create --print-join-command4. Add the different nodes to the cluster
In each raspberry pi that you want to add as a node to the cluster run the following commands.
- Configure the flannel subnet file
cat > /run/flannel/subnet.env
FLANNEL_NETWORK=100.96.0.0/16
FLANNEL_SUBNET=100.96.1.1/24
FLANNEL_MTU=8973
FLANNEL_IPMASQ=true
2. Use the output you obtained previously from command “kubeadm token create –print-join-command” it will look something like this
sudo kubeadm join 192.168.1.102:6443 --token 5aotn8.ab493943zf9zf9nm \
        --discovery-token-ca-cert-hash sha256:396a8a8b28b11c8caa8474384398493482034320947090766366bff9d1516699acde
3. If all went well you should see all your nodes ready with command kubectl get nodes. You are now ready to create deployments, pods and services.

5. Destroy your kubernetes infrastructure
After you are done playing, or in case things stop working and you want to start from scratch you can use the below instructions to destroy your kubernetes infrastructure.
- Remove nodes by running the below in your control plane instead of raspiclustern you can use the hostnames you have set up for your machines.
kubectl drain raspicluster1 --delete-emptydir-data --force --ignore-daemonsets
kubectl drain raspicluster2 --delete-emptydir-data --force --ignore-daemonsets
kubectl drain raspicluster3 --delete-emptydir-data --force --ignore-daemonsets
kubectl drain raspicluster4 --delete-emptydir-data --force --ignore-daemonsets
kubectl delete node raspicluster1
kubectl delete node raspicluster2
kubectl delete node raspicluster3
kubectl delete node raspicluster4
kubectl get nodes
2. SSH to each machine and run the below code
sudo rm /etc/kubernetes/kubelet.conf /etc/kubernetes/pki/ca.crt /etc/kubernetes/bootstrap-kubelet.conf
sudo kubeadm reset